Table of Contents
How We Got Started Baking With Fresh Milled Flour
We discovered the benefits of baking with fresh milled flour in 2021 (but it wasn’t until later that I ventured into making a sourdough starter with fresh milled flour.)
Our oldest daughter had been battling a case of Molluscum contagiosum for months, and despite multiple homeopathic remedies, it just wasn’t going away.
That’s when we came across a YouTube video called The Bread of Life by Sue Becker, and everything changed. If you’re even considering fresh-milled flour baking, I highly recommend watching it—here it is for your viewing pleasure:
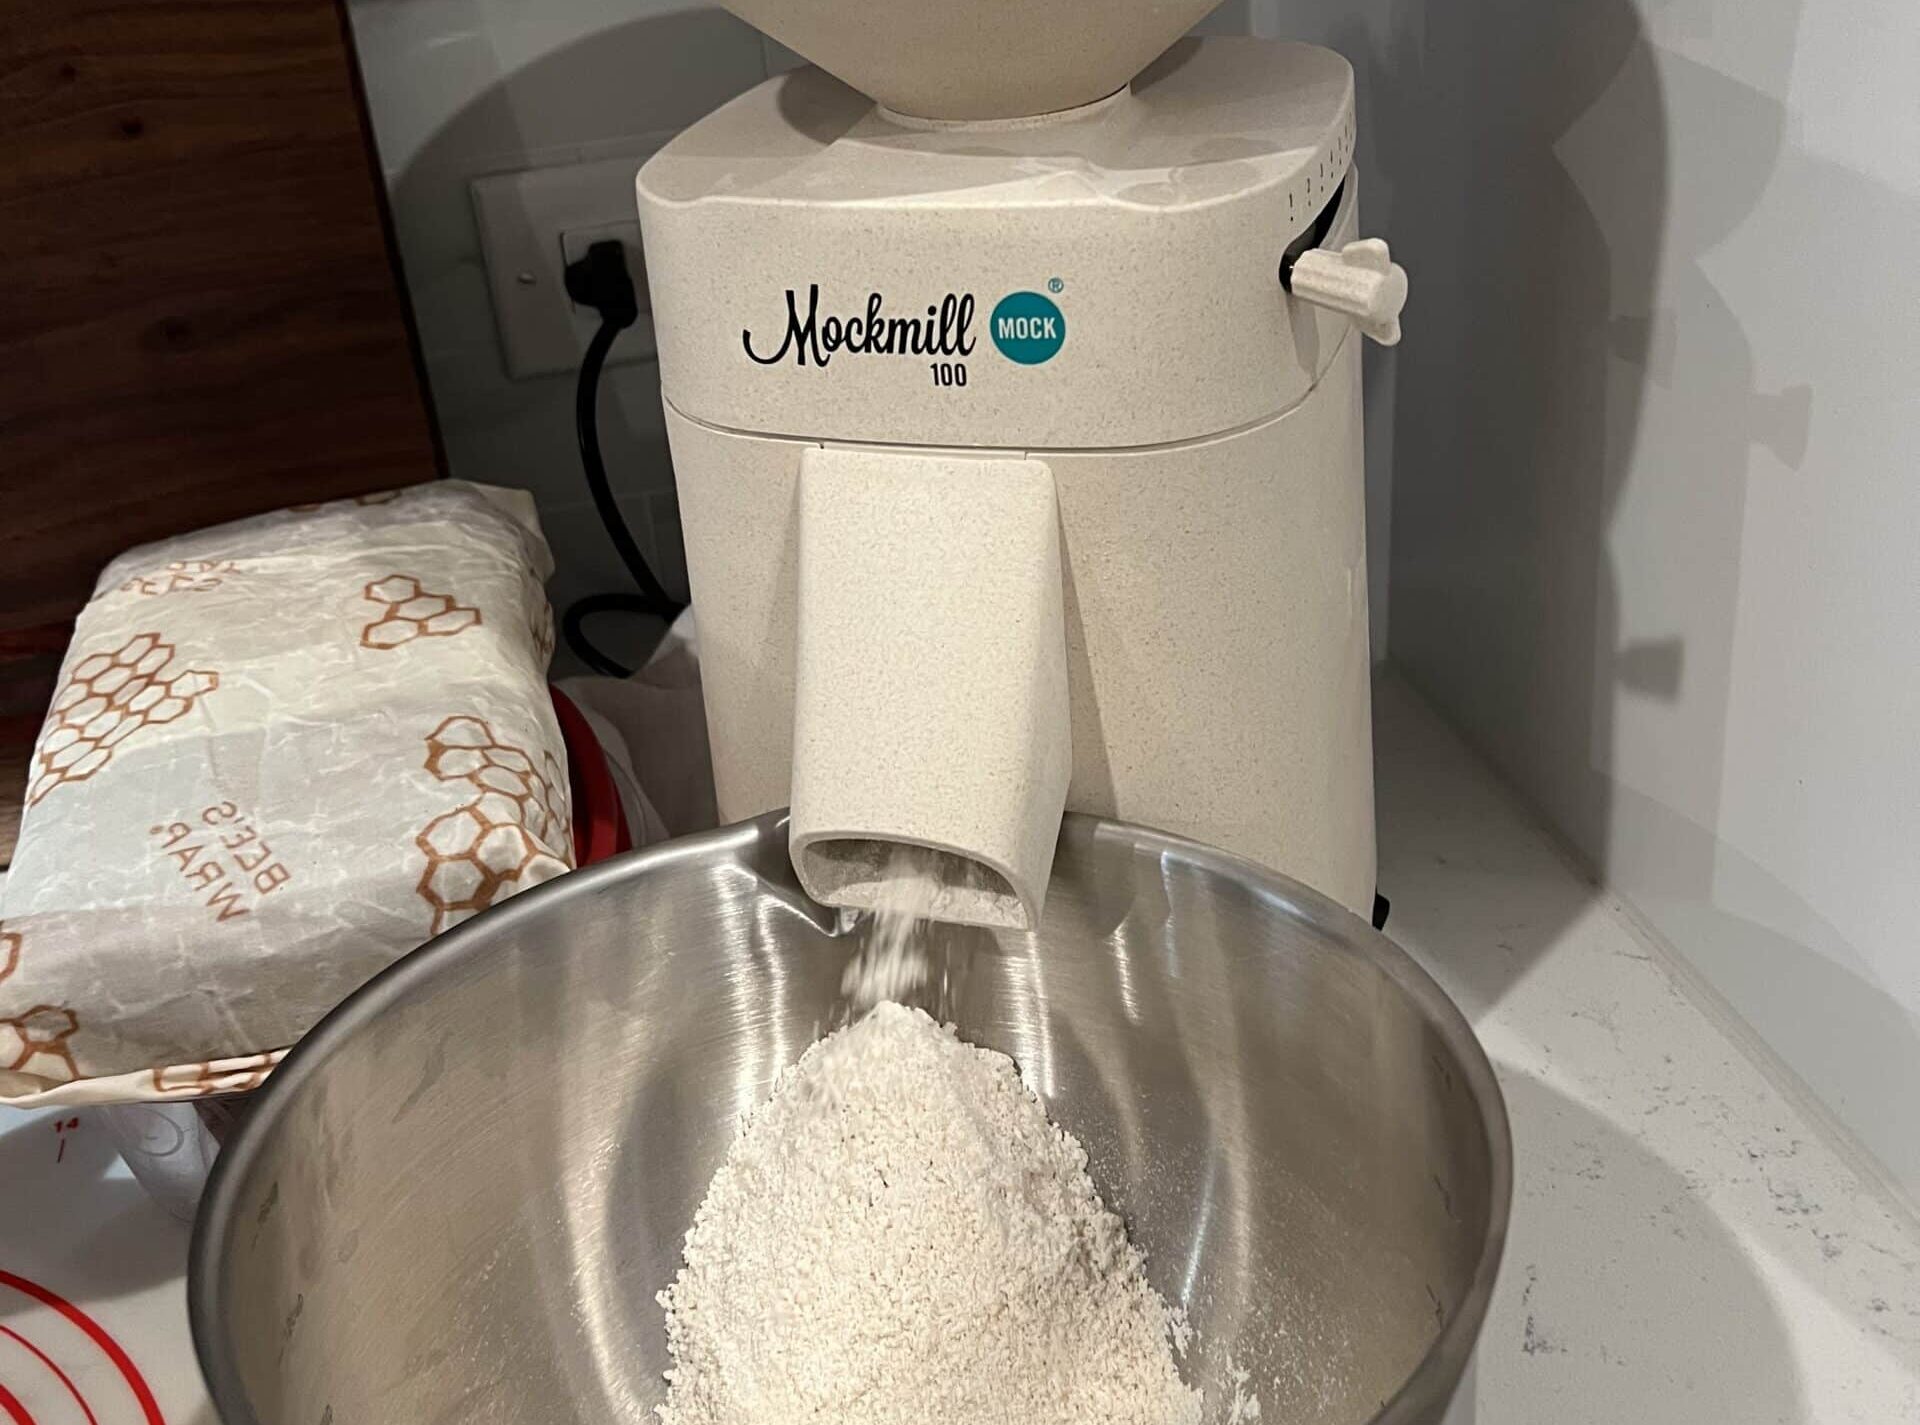
I purchased a Mockmill 100 grain mill and an Ankarsrum Mixer and never looked back. Within three weeks of our first few loaves, my daughter’s Molluscum completely disappeared. (In the video, Sue talks about the antiviral properties of whole grains, so definitely give it a watch!)
Even before I started sourdough, I was convinced we were reaping the incredible health benefits of fresh-milled grains. But once I finally decided to dive into sourdough baking, it only made sense to create a sourdough starter with fresh milled flour from the start.
If you’re new to sourdough or curious about using freshly milled grains, this guide will walk you through every step, from getting started to maintaining a thriving starter that will help you bake the most nourishing, delicious whole grain bread.
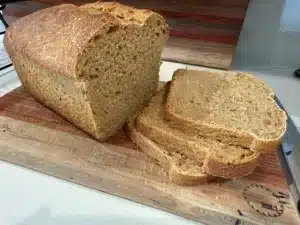
(This sandwich sourdough bread recipe is a great entry-level loaf for beginners!)
Why Sourdough?
You may be wondering, “Why use a fresh milled flour sourdough starter instead of commercial yeast?”
That was my question, too. I had already fallen in love with baking fresh-milled bread using store-bought yeast, so I wasn’t sure if sourdough was really necessary. But once I started learning about the benefits, I realized it was about so much more than just making bread rise.
First, sourdough is wild fermentation at its finest. Unlike commercial yeast, which is a single strain of yeast designed to give a quick, predictable rise, a sourdough starter is a living culture of wild yeast and beneficial bacteria working together. These little microbes not only leaven the bread but also break down the grain, making the nutrients more bioavailable and easier to digest.
Then there’s the unique flavor. If you’ve ever had a truly good sourdough loaf, you know what I mean – deep, complex and tangy, with a beautiful chew. That flavor comes from the slow fermentation process, which allows the natural sugars in the grain to develop fully.
Why Fresh Milled Flour?
When you pair sourdough with fresh milled flour, you get the ultimate combination of nutrition, digestibility, and rich, full-bodied flavor.
Nutritional Benefits
Unlike store-bought flour, which is stripped of many of its nutrients during processing, fresh milled flour includes the entire wheat berry—bran, germ, and endosperm—giving you a flour that’s naturally rich in vitamins, minerals, and protein. The bran is full of fiber and antioxidants, the germ contains essential fatty acids and vitamin E, and the endosperm provides energy-sustaining carbohydrates. Together, they form a complete food source, making fresh milled flour not only more nutritious but also more filling and satisfying.
It’s also a complete protein, meaning it contains all nine essential amino acids your body needs. Plus, it’s packed with B vitamins (like niacin, thiamine, and folate), magnesium, iron, zinc, and other essential minerals that support overall health. Many of these nutrients are lost in commercial flour because the bran and germ are removed to increase shelf stability. By milling your own flour, you’re getting all of the goodness that was meant to be in the grain.
(In case you haven’t watched it yet, Sue talks about all of this in her video, above!)
And here’s where things get even better: sourdough fermentation helps unlock these nutrients by breaking down phytic acid, a natural compound in grains that can inhibit mineral absorption. This means that when you make sourdough with fresh milled flour, your body can absorb and use more of the incredible nutrients packed inside each loaf.
Enhanced Flavor
Beyond the health benefits, fresh milled flour completely transforms the flavor of your homemade sourdough bread. The natural oils in the wheat germ, which are often removed in commercial milling to prevent spoilage, contribute to a deep, nutty richness you simply can’t get with store-bought flour. Because you’re using the full components of the grain, your baked goods develop a more complex, wholesome flavor with sweet, earthy notes that shine through, even in a simple loaf of bread.
The fermentation process in sourdough only enhances this, drawing out subtle flavors that vary depending on the grain you use. Hard red wheat has a bold, hearty taste, while soft white wheat creates a lighter, slightly sweet flavor. Regardless of which type of grain you choose, fresh milled flour allows its natural character to shine in every bite.
Natural Yeasts
Fresh milled flour also comes packed with naturally occurring wild yeasts and good bacteria. Because it hasn’t been processed or bleached, it retains the microorganisms that are already present on wheat berries, which can help jumpstart fermentation when making your own starter.
While a starter can be created with any flour, many bakers find that fresh milled flour encourages stronger activity early on, often leading to a more robust, bubbly culture. These natural yeasts work alongside the bacteria to create that signature tangy flavor and long fermentation benefits that make sourdough so special.
So if you’re already milling your own grains, making a sourdough starter with fresh milled flour just makes sense. It’s a natural extension of working with whole, living grains, the way bread was meant to be made.
Ingredients & Tools for Making Fresh Milled Flour Sourdough Starter
Despite what you may have read on the internet, making a sourdough starter with fresh milled flour is actually really simple. All you need are a few simple ingredients and tools:
- Freshly milled whole wheat flour
- Filtered or spring water (avoid chlorine, which can inhibit fermentation!)
- Clean glass jar with a loose-fitting lid or breathable cover
- Kitchen scale for accurate measurements
- Spatula or wooden spoon for stirring
Step-by-Step Guide to Making Sourdough Starter With Fresh Milled Flour
Making a sourdough starter with fresh milled flour is a simple process, but it does require patience. I like to think of it like nurturing a tiny, living kitchen pet. You have to feed it, care for it, and give it the right conditions to thrive. But don’t worry, I’ll walk you through each step so you’ll know exactly what to expect.
Day 1: Getting Started
This is where the magic begins!
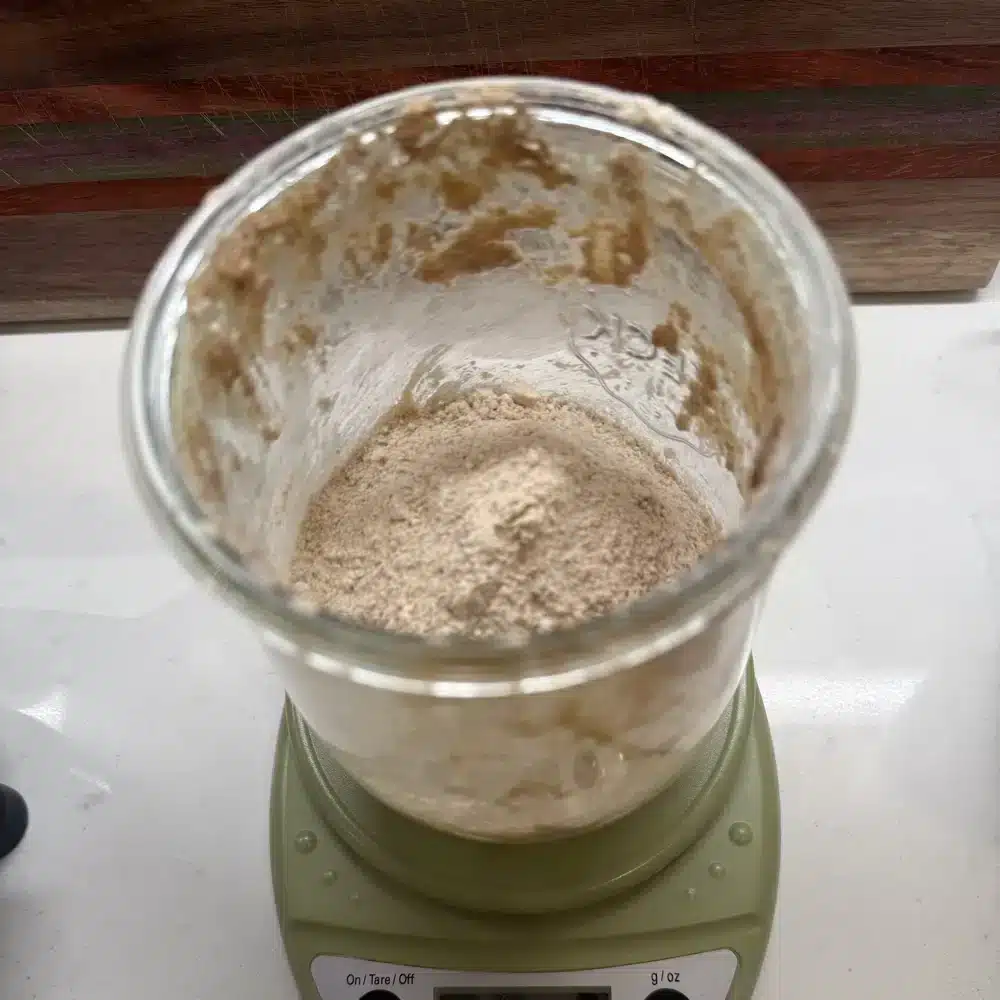
- Mix equal parts of fresh milled flour and filtered water by weight. 25 grams of each is a great starting point and minimizes discarding. While using a kitchen scale isn’t 100% necessary, I highly encourage it for best results. You can get one pretty inexpensively on Amazon.
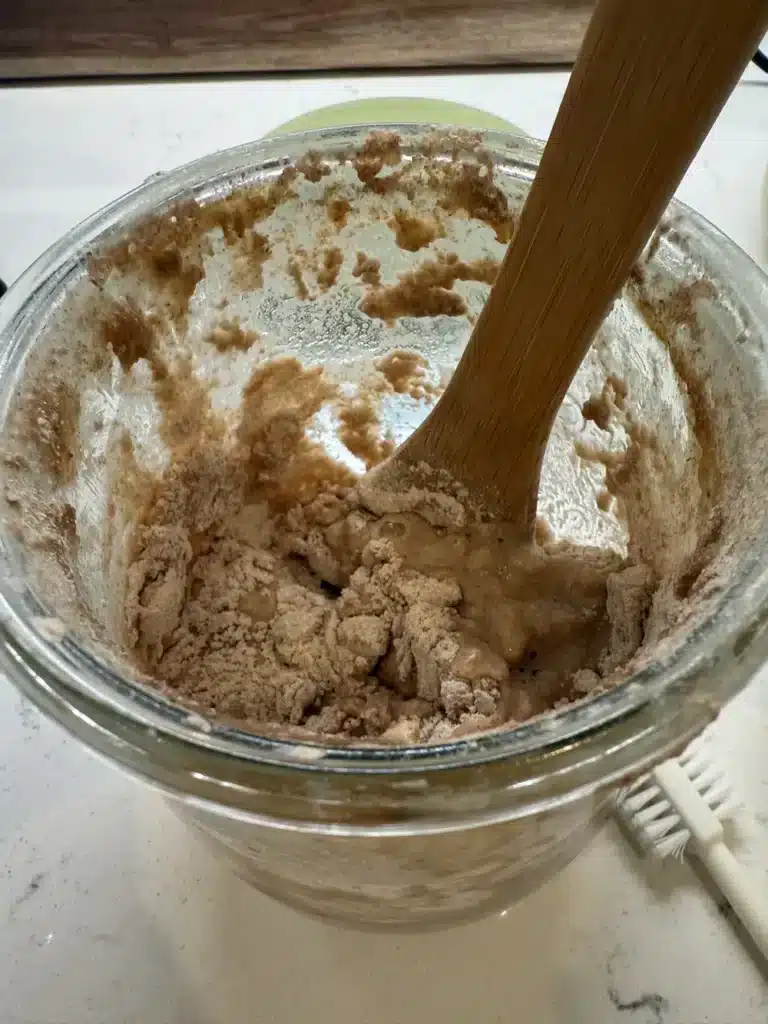
- Stir everything together in your jar until you have a thick, smooth batter. It’ll look a bit like pancake batter at this stage.
- Cover the jar loosely with a cloth, coffee filter, or loose-fitting lid. (I bought a couple of Weck jars online; they’re great for sourdough!) Your starter needs airflow, but you don’t want any dust or fruit flies getting in.
- Place the jar in a warm spot, ideally between 70-75°F (21-24°C). The top of your fridge, inside a turned-off oven with the light on, or near a warm appliance on the kitchen counter can work well.
Now, let it rest! You won’t see much happening today, but that’s normal.
Day 2: Looking for Signs of Life
- Peek at your starter. You might see tiny bubbles forming or notice a slight rise—this is a good sign!
- Discard half of the starter (about 25 grams). This may feel wasteful, but it’s necessary to keep your starter from growing too large and to maintain the right balance of fresh flour and water. Plus, discarding doesn’t have to mean throwing it away. There are so many ways to use sourdough discard in your kitchen! I love making pancakes, muffins and quick breads with mine. You can also find plenty of other creative discard recipes to incorporate that tangy, fermented flavor into all sorts of dishes.
- Feed it again by adding 25 grams of fresh milled flour and 25 grams of filtered water. Stir until smooth.
- Cover it loosely and return it to its warm spot.
At this point, it may smell slightly sweet or even a little funky. Don’t worry, that’s all part of the process!
Days 3-7: Growing Stronger
This is when your starter really starts to come to life. Each day, follow this simple routine:
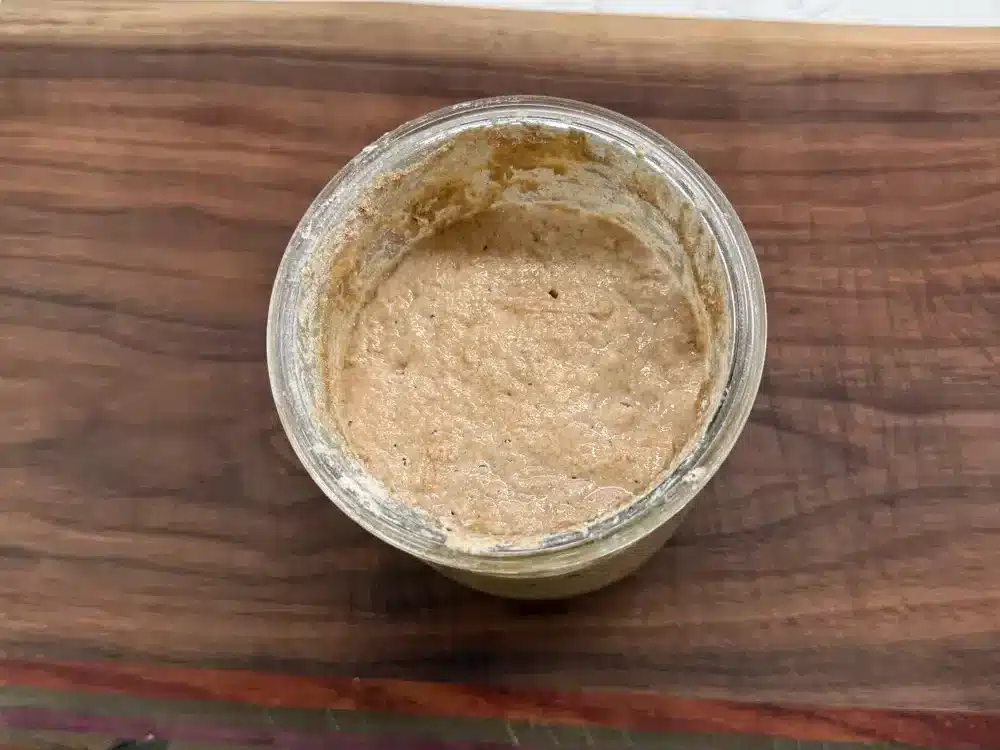
- Check for bubbles and rising activity. By now, you’ll likely see more movement, and your starter may begin to double in size between feedings.
- Discard 50g of the starter. Again, this keeps the balance right and prevents your starter from becoming too acidic too quickly. You should have about 25 grams of starter left.
- Feed it with fresh flour and water (25 grams each), stir well, and cover it loosely.
- Keep it in its warm spot and repeat daily.
By day 4 or 5, you may notice a strong yeasty or slightly sour smell. That’s a great sign! It means the wild yeasts and bacteria are establishing themselves.
The “False Rise” on Day 3 or 4
A little heads-up: around day 3 or 4, you might see your starter suddenly rise a lot and then fall back down. This is known as a “false rise”, and it’s caused by bacteria that are active early in the process.
It might trick you into thinking your starter is ready to use, but hold off! The wild yeasts are still developing, and if you try to bake with it now, your bread won’t rise properly. Keep feeding it daily and it will stabilize in the next week or so.
Determining Readiness: When Is My Starter Ready?
Your sourdough starter with fresh milled flour is officially ready to use when:
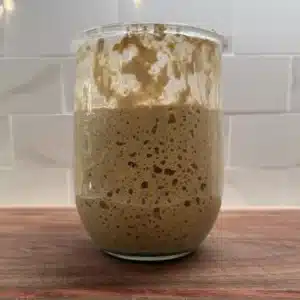
- It consistently doubles in size within a few hours of feeding.
- It has a bubbly, airy structure with lots of movement.
- It smells pleasantly sour and yeasty, like tangy yogurt or ripe fruit.
- It passes the float test: take a small spoonful of starter and drop it into a cup of water. If it floats, it’s strong enough to bake with.
If your starter isn’t quite there by day 7, don’t panic! Sometimes it can take up to 10-14 days to develop a really strong culture, especially if your kitchen is on the cooler side. Just keep feeding it daily, and it will get there.
Once your starter is thriving, you’re ready to move on to feeding schedules, storage, and, of course, baking your first sourdough loaf!
Can I Feed My Sourdough Starter With Different Types of Grains?
Absolutely! While I started my sourdough journey with a fresh milled hard white wheat starter, you can experiment with different grains to achieve unique flavors and fermentation characteristics. Every grain brings its own set of enzymes, nutrients, and wild yeasts to the table, which can affect how your starter behaves and tastes.
How Different Grains Affect Your Starter
- Whole Wheat (Hard or Soft White Wheat) – This is my go-to because it’s nutrient-dense and provides a hearty, slightly nutty flavor. It also ferments well and tends to create a strong, active starter.
- Rye – Rye flour is like sourdough rocket fuel. It’s rich in natural sugars, enzymes, and wild yeasts, making it one of the best flours for boosting fermentation. Many bakers use rye to kickstart a sluggish starter or to develop a deeper tangy flavor.
- Spelt – Spelt is an ancient grain that gives a milder, slightly sweet flavor. It ferments well but tends to be a bit more delicate than wheat or rye, producing a softer-textured starter.
- Einkorn – This is another ancient grain with a naturally sweet, buttery taste. But it doesn’t develop as strong of a gluten structure, so it may create a thinner starter.
- White Flour – If you ever need to lighten your starter, all purpose flour or bread flour can help. However, store-bought white flour lacks the natural wild yeasts and nutrients of fresh milled grains, so I personally prefer to stick with whole grains.
How to Transition Your Starter to a Different Grain
If you’d like to switch your starter to another grain (or even just experiment with blending different grains), here’s how to do it gradually:
- Start With a Small Percentage – Instead of switching all at once, start by replacing 25% of your flour with the new grain while keeping the rest whole wheat. Feed this way for a few days and observe how your starter responds.
- Increase Gradually – If your starter stays active and happy, increase the new flour percentage to 50%, then 75% over the course of a week. This gives the wild yeasts and bacteria time to adjust to their new food source.
- Full Transition – After a week or two, you can fully transition your starter to the new grain. Or, if you like a blend, you can continue feeding a mix of flours to get the best of both worlds.
Tip: Don’t overthink it! The percentages and amounts suggested above are really just a general guide. Sometimes I mill too much of a specific type of flour, and I’ll use the excess to feed my starter, without worrying about the amount. I’ve never had a problem doing this. Sourdough starter with fresh milled flour really doesn’t have to be complicated.
Mixing Different Flours for the Best Results
Many bakers, including myself, love using a combination of flours for a well-rounded starter. I typically stick with fresh milled hard white wheat, but if I want to give my starter an extra boost, I’ll mix in a little rye flour for a few feedings. If you find your starter is sluggish or not rising as quickly as you’d like, adding a bit of rye or spelt can help wake it up.
At the end of the day, there’s no one right way to maintain your starter. The best approach is the one that works for you and the type of bread you want to bake.
How Often Should I Feed My Sourdough Starter with Fresh Milled Flour?
One of the most common questions I get is, “How often do I need to feed my starter?” The answer depends on how often you bake and whether you keep your starter at room temperature or in the refrigerator.
Feeding a Room Temperature Starter
If you bake daily or every couple of days, keeping your starter at room temperature is the best option. A healthy, active starter should be fed at least once every 12-24 hours, depending on the temperature of your kitchen.
- Warmer kitchens (above 75°F/24°C) – Feed every 12 hours, as fermentation happens more quickly.
- Cooler kitchens (65-70°F/18-21°C) – Feeding every 24 hours is usually sufficient.
- If your starter gets really hungry (it has a strong sour smell, lots of liquid on top, or isn’t rising well), it may need more frequent feedings.
A common feeding ratio for an active, room-temperature starter is 1:1:1 (equal parts starter, fresh milled flour, and water by weight). For example, if you have 50 grams of starter, you’d feed it 50 grams of flour and 50 grams of water.
Feeding a Refrigerated Starter
If you don’t bake often, you can store your starter in the refrigerator and only feed it once a week.
- Take your starter out of the fridge, discard half (or use it in a recipe), and feed it with equal parts fresh milled flour and water.
- Let it sit at room temperature for a few hours so fermentation kicks back in, then return it to the fridge.
- When you’re ready to bake, take it out 1-2 days in advance, feed it at least twice, and make sure it’s active before using it in a recipe.
This method is a great way to maintain a fresh milled flour sourdough starter without daily upkeep, especially if life gets busy (and it definitely does in a house like ours with lots of kiddos!)
Understanding Sourdough Starter Feeding Ratios
If you’ve read anything about feeding a sourdough starter with fresh milled flour, you’ve probably seen different feeding ratios like 1:1:1, 1:2:2, or even 1:5:5. But what do they actually mean, and which one should you use?
The short answer? 1:1:1 is the easiest and the one I use most often.
What Do Feeding Ratios Mean?
Feeding ratios are simply a way to express how much starter, flour, and water you’re using. The numbers represent parts by weight, not volume.
- 1:1:1 – Equal parts starter, flour, and water. This is a standard feeding that keeps your starter at a balanced hydration level and ready for baking.
- 1:2:2 or 1:3:3 – This means you’re giving your starter more food, twice or three times the amount of flour and water compared to starter. These ratios are useful if your starter is very active and you need to slow it down a little between feedings.
- 1:5:5 or higher – This is a low-maintenance feeding used to extend the time between feedings, often in warmer temperatures or when preparing to refrigerate your starter.
Why I Stick to 1:1:1
For daily feeding, 1:1:1 works best for me because it keeps my starter active without requiring me to adjust amounts all the time. It’s also the easiest ratio to remember. You just weigh equal parts starter, flour, and water, mix, and you’re good to go.
That said, if my starter seems sluggish or I need a more predictable schedule, I’ll occasionally switch things up. If my kitchen is warmer than usual, I might use 1:2:2 to slow down fermentation a little. If I need a stronger starter for baking, I’ll feed twice a day instead of once. If I know I won’t be using my starter for a few days, I’ll feed it a larger ratio and refrigerate it.
(This might all sound a bit overwhelming, but trust me, it gets easier as time goes on! The more you feed your starter and observe how it behaves after each feeding, the more you’ll understand what it needs and how much.)
How Much Active Sourdough Starter Should I Keep?
One mistake I made early on was keeping way too much starter. I’d feed it and suddenly have an overflowing jar. You really don’t need a giant amount—keeping about 50 to 100 grams of starter, or even just a few tablespoons, is plenty. Since you’re feeding it fresh flour and water each time, it grows quickly.
If you do find yourself with too much, just use the extra in recipes (sourdough pancakes, anyone?) or store it in the fridge until you need it.
Troubleshooting and Tips
Even though making a sourdough starter with fresh milled flour is a simple process, there are times when things don’t go quite as expected. If you’re running into issues, don’t worry. Sourdough is very forgiving, and most problems have easy solutions.
“My Starter Isn’t Bubbling or Rising.”
If your starter isn’t showing much activity after a few days, it’s likely due to one of these reasons:
- Temperature is too low – Starters thrive in a warm environment, ideally between 70-75°F. If your kitchen is cooler, try placing the jar in a warm place, like inside the oven with the light on or near a warm appliance.
- Chlorine in the water – Tap water treated with chlorine can inhibit fermentation. If you suspect this might be an issue, switch to filtered or spring water.
- Flour choice – Fresh milled whole wheat flour is packed with nutrients that help a starter thrive, but if you’re using lower-extraction flour (like sifted or store-bought), try adding a bit of rye flour to jumpstart fermentation.
- Be patient – Some starters take longer to develop, especially in cooler kitchens. Keep feeding it consistently, and you should see signs of life within a week or two.
“My Starter Smells Bad.”
A healthy starter should smell pleasantly sour, slightly sweet, or even a little yeasty. If it smells like rotten eggs, vinegar, or something truly off-putting, here’s what might be happening:
- It’s hungry – A very strong vinegar or nail polish remover smell means your starter is over-fermenting and needs more frequent feedings. Try feeding it twice a day instead of once.
- It’s too acidic – If the smell is harsh and unpleasant, discard a little more than usual before feeding. This helps rebalance the bacteria and yeast.
- It’s contaminated – If your starter smells rancid, has mold, or develops an unusual color, it’s best to start over. This is rare, but it can happen if the jar or utensils weren’t clean.
“There’s Dark Liquid on Top.”
Hooch is a dark, sometimes grayish liquid that forms on top of an unfed starter. It’s completely normal and just means your starter is hungry. You can either stir it back in for a more sour flavor or pour it off before feeding.
If hooch is forming frequently, it’s a sign your starter needs more food or more frequent feedings. This happened to me the last time I made a new starter after Passover and Unleavened Bread. Try feeding it a larger ratio (1:2:2 or 1:3:3) or feeding it twice a day.
“My Starter is Rising and Falling Too Quickly.”
If your starter is rising and collapsing within just a few hours, it’s fermenting too fast. This usually happens in warm kitchens or with very active starters.
Try feeding at a higher ratio, like 1:2:2 or 1:3:3, to give the starter more food and slow down fermentation. And store it in a slightly cooler spot to extend the feeding cycle.
“My Starter is Too Thick or Too Runny.”
The consistency of your starter can vary depending on the type of flour you use, the hydration level, and even the climate in your kitchen.
- If your starter is too thick and difficult to stir, it may be absorbing more water than expected, especially if you’re using whole wheat or a grain like spelt. Try adding a little more water when feeding until it reaches a thick pancake batter consistency.
- If your starter is too runny, it may be over-fermenting or not absorbing the water as much as expected. Try reducing the water slightly at the next feeding or feeding at a higher ratio (1:2:2) to give it more flour to work with.
Sourdough starter with fresh milled flour doesn’t have to be an exact texture, but ideally, it should be thick enough to hold some shape while still being easy to stir. If in doubt, adjust slightly and see how it responds!
“How Do I Make My Starter More Mild or More Tangy?”
The balance of bacteria and yeast in your starter determines how tangy or mild your sourdough will be. If you prefer a milder flavor, feed your starter more frequently or use a lower ratio like 1:2:2. If you want a stronger tang, let it ferment longer before feeding or store it in the fridge between bakes to allow more acetic acid to develop.
What If I Miss a Feeding?
Life happens, and sometimes you just forget. The good news is that sourdough is incredibly resilient.
- If you miss a single feeding, just pick up where you left off.
- If it’s been a few days, you may need to feed it twice to get it back to full strength.
- If your starter has been neglected for a week or more at room temperature, it might take a few days of regular feedings to revive it.
Final Tip: Don’t Overthink It
I said this once already, but it bears repeating! Sourdough starters are incredibly adaptable. If you stick to a simple feeding routine and make adjustments as needed, your starter will thrive. The most important thing is consistency. Feed it regularly, pay attention to how it reacts, and trust the process.
Recipe Card
Sourdough Starter with Fresh Milled Flour
Equipment
- 1 clean glass jar with a loose-fitting lid or breathable cover
- 1 digital kitchen scale
- 1 spatula or wooden spoon for stirring
Materials
- 50 g fresh milled whole wheat flour (I use hard white wheat, but hard red, spelt, rye and einkorn are also great options. See post above for info on how different grains will affect your starter.)
- 50 g filtered or spring water (avoid chlorine – it can kill your starter!)
Instructions
- Day 1: In a clean glass jar, mix 50g of fresh milled whole wheat flour and 50g of filtered water. Stir until fully combined into a thick batter. Cover loosely with a breathable lid (cloth or coffee filter) and place in a warm spot (70-75°F).
- Day 2: Check for any bubbles or slight rise. Discard half of the starter (about 50g), then feed it with 50g fresh milled flour and 50g water. Stir well, cover, and return it to its warm spot.
- Days 3-14: Repeat the same feeding process each day—discard half, then feed with equal parts fresh flour and water. By day 4 or 5, your starter should begin to smell slightly sour and develop more bubbles.
Notes
- Determining Readiness: Your starter is ready to bake with when it doubles in size within a few hours of feeding, has a bubbly structure, and passes the float test (a spoonful of starter should float in water). If it’s not there yet, continue feeding daily until fully active.
- Maintenance: Once your starter is established, you can continue daily feedings or store it in the refrigerator, feeding once a week. To revive a chilled starter for baking, take it out 1-2 days in advance and feed it twice before using.