
This soft sourdough sandwich loaf recipe is a great way to get started with making sourdough bread from scratch. Made with fresh ground flour, it’s packed with nutrients and full of whole grain flavor. Best of all, it’s ready in under 24 hours, and super easy to make! You start by making a levain the night before, mix all your ingredients together the next morning, and it’s ready to bake by the next afternoon.
Why Make Your Own Bread?
I think most of us can agree that homemade bread is better that store-bought on pretty much all accounts. Yes, it takes time, but most of that time is spent simply waiting for the dough to rise. And the end result is so worth it!
Store-bought bread (especially white bread) is often full of added, unhealthy ingredients. It’s also more expensive than making healthy bread at home with minimal ingredients. And when you bring fresh ground flour into the mix, you have more options. You can use different grains, add mix-ins, use sourdough starter instead of store-bought yeast, and create beautiful artisan designs with stencils and scoring tools – the possibilities are endless.
Homemade bread also freezes well, so you can make it in large batches and freeze it for several months.
Why Use Fresh Milled Flour?
Fresh milled flour gives this sourdough sandwich loaf recipe a higher protein content that’s packed with nutrients you won’t find in store-bought flours.
All purpose flour, bread flour, and even so-called “whole-wheat” flours that you can buy at the grocery store are nutritionally void. They have gone through an extraction process that removes the bran and the germ—essential parts of the wheat berry that contribute to its high nutrient content—leaving behind the starchy part of the grain. While this might lead to loaves that have a softer, pillowy, and airy texture, the bread is devoid of nutrients. (It’s basically “dead bread”.)
What about store-bought whole-wheat flour? While whole wheat flours on store shelves might retain the bran and germ, as soon as it’s milled, it quickly begins to go rancid, losing much of its nutrient value within the first 48 hours. So it’s best to use whole wheat flour flour right after milling.

Sourdough Vs. Commercial Yeast
Using a sourdough starter instead of commercial yeast to make bread is like the difference between slow-cooking a homemade meal and heating up something pre-made—it’s all about quality.
Sourdough starter is a natural fermentation of wild yeast and bacteria, while commercial yeast is a single strain of lab-cultured yeast designed to make bread rise quickly. While it takes longer for sourdough dough to rise (yes, patience is required), the health benefits make it so worth it.
The fermentation process in sourdough breaks down gluten and phytic acid, making it easier to digest and gentler on your stomach.
For some people, this even means less bloating or discomfort compared to bread made with commercial yeast. I’ve heard countless stories of people with gluten sensitivities being able to eat sourdough without issues.
It also has a richer, more complex flavor that you just don’t get with store-bought yeast—a complexity that results from the process of natural fermentation. Sure, commercial yeast is quicker and more convenient, but it can’t compete with the nutritional benefits and the satisfaction of creating something so wholesome from scratch.
Trust me, once you try it, you’ll never look at bread the same way again!
Ingredients & Tools
With just a few basic ingredients and tools, you can make this soft sourdough sandwich loaf recipe in less than 24 hours at home:
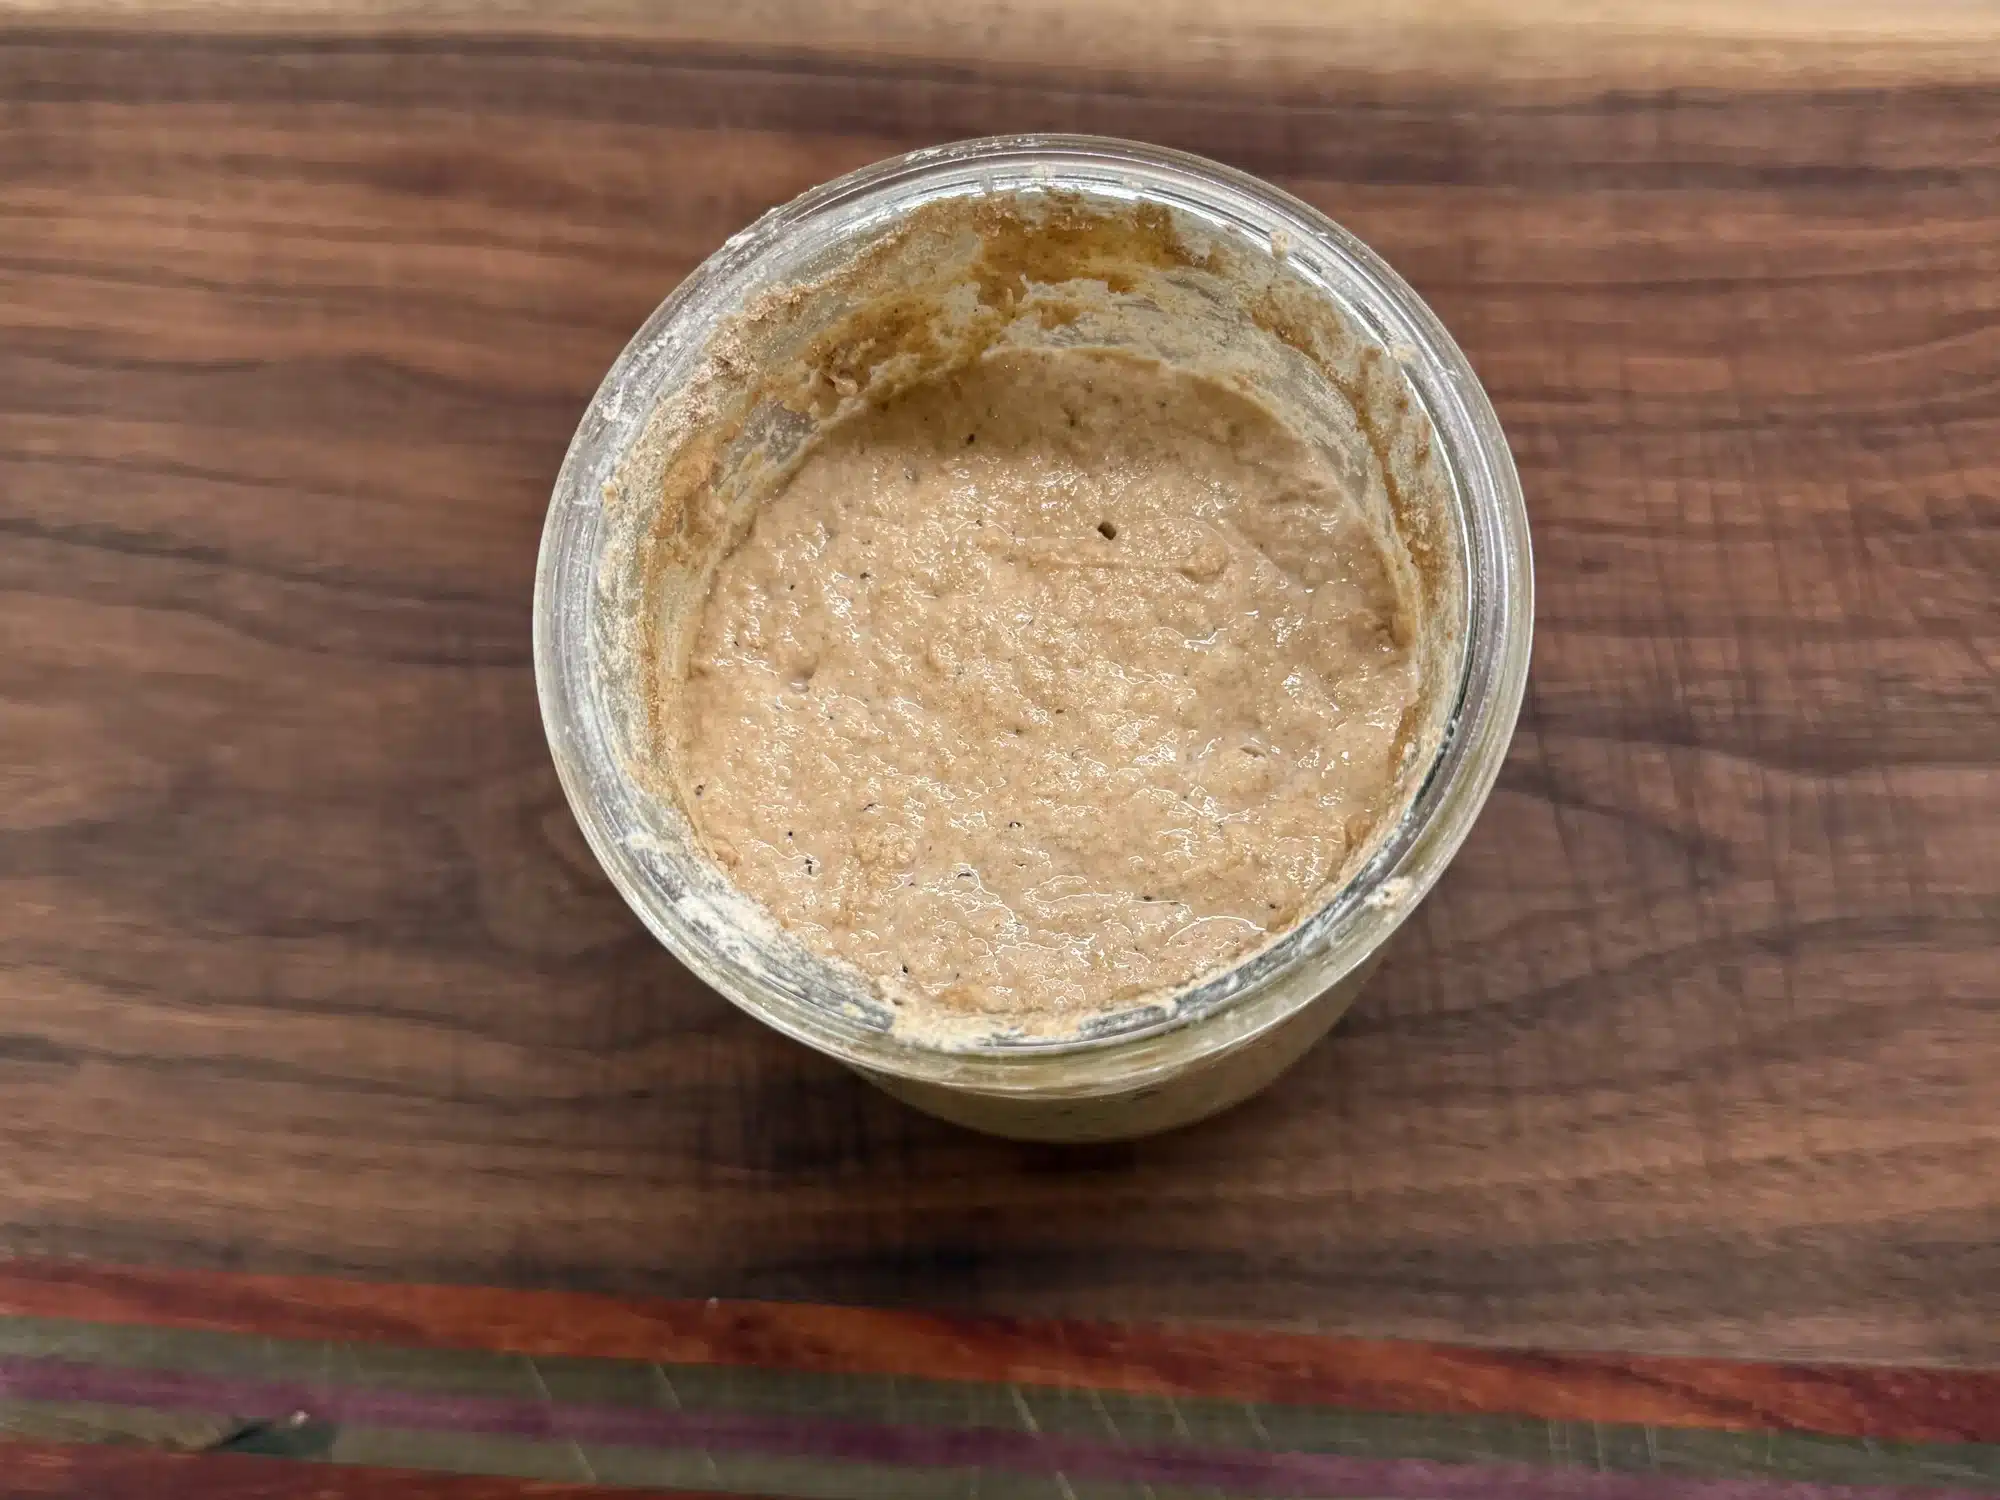
- Levain (sourdough starter, flour and water): you’ll make this the night before by combining active starter or discard with fresh flour and warm water.
- Milk: the fat content in milk helps to create a softer texture and richer flavor
- Butter: similar to milk, butter adds softness due to its fat content, but you could also substitute this for oil. (We prefer coconut, avocado or olive oil.)
- Honey: for added sweetness and moisture retention; it also acts as a natural preservative in the finished product, helping the bread to remain shelf stable for longer.
- Brown sugar: just a small amount here is key! The molasses content in brown sugar gives this bread a richer flavor and a moister crumb. You could substitute this for more honey, if you prefer.
- Sunflower lecithin: this is a dough conditioner and it’s totally optional! I still get great results without it. Sometimes I like to add it in for more elasticity and softness.
- Salt: in addition to bringing out the complex flavors of fresh milled wheat and other ingredients in this recipe, salt helps to strengthen the gluten network in the dough. We won’t add salt until after the initial autolyse.
- Fresh ground flour: I like to use hard white wheat for this, but you could do a mix of hard white and hard red. Feel free to experiment with other types of grain, keeping in mind that you may need to add more or less flour than called for.
- Stand Mixer: I use an Ankarsrum Mixer. KitchenAid and Bosch are popular choices as well, or you could use a large mixing bowl and a danish dough whisk to mix the dough by hand.
- Loaf Pans: 9 x 5 inches; I prefer glass or stone (we have one of each!), but you could use nonstick aluminum as well.
- Bread Lame: for scoring (optional)
- Sharp Bread Knife or Slicer: for slicing
Timeline / Baking Schedule
- 9pm (the night before): Mix the ingredients for the levain. Let sit covered at room temperature overnight.
- 9am (the next morning): Add the levain and all other dough ingredients except the salt to a large mixing bowl. A stand mixer is easiest, but you can also mix this dough by hand. Let the dough rest, covered, for 30 minutes. This is called the autolyse.
- 9:45-10am: Add the salt and knead on low speed for 5 minutes, until the dough is smooth and elastic. (If kneading by hand, you may need to do it a little longer.)
- 10:15am to 2pm: Perform a stretch-and-fold series on the dough once every hour and 15 minutes for a total of 3 stretch-and-fold series over 3 hours and 45 minutes. This is the bulk fermentation period.
- 2pm to 4pm: Split the dough into 2 equal parts. Shape each loaf and place in loaf pans to proof until doubled in size. Each loaf should be risen just slightly over the rim of the pan and pass the “poke test”.
- 4pm to 5pm: Bake!
Mixing the Dough
I like to use a stand mixer, but you can knead the dough by hand if you don’t have one. Every brand of mixer is different, so the way you add your ingredients and mix your dough may vary. I use an Ankarsrum mixer which calls for adding the wet ingredients first. Then you add the flour until the dough starts to pull away from the sides of the bowl.
A little caveat:
A lot of people tend to complicate the process of making bread, especially sourdough.
Honestly, I don’t always weigh my ingredients. I know there are hundreds of pro bakers out there who would shake their heads at me for this, but with fresh milled flour, there’s really no point.
Every recipe is different and every batch of grain is different. Where you live, the humidity and temperature levels in your house, the type of grain you use … all of these factors can affect the outcome and the amount of flour required when making homemade bread with fresh milled wheat.
It’s more important to get to know the feel of your dough. It should have a certain texture, hydration level and degree of stretch, all of which will be learned and refined with every new batch. In general, your dough should be soft & elastic, and well hydrated.
When it comes to fresh milled flour, I’ve had better results with higher hydration dough. This means the dough will be wetter than average; expect it stick to your hands somewhat, but it shouldn’t be so wet that you can’t work with it at all.
More often than not, you should resist the urge to add more flour unless you’ve given it ample time to absorb and the dough is still just impossible to work with.
Ine the end, it’s all about balance, and there is a bit of a learning curve, but the more you practice, the better you’ll get at knowing how it should look and feel.
If a recipe calls for 5 cups of flour, a good practice is to add the dough 1/2 cup at a time, understanding that you may need to use more or less than what the recipe says.
Bottom line: every instruction you see in a recipe blog should be taken with a grain of salt (no pun intended!)
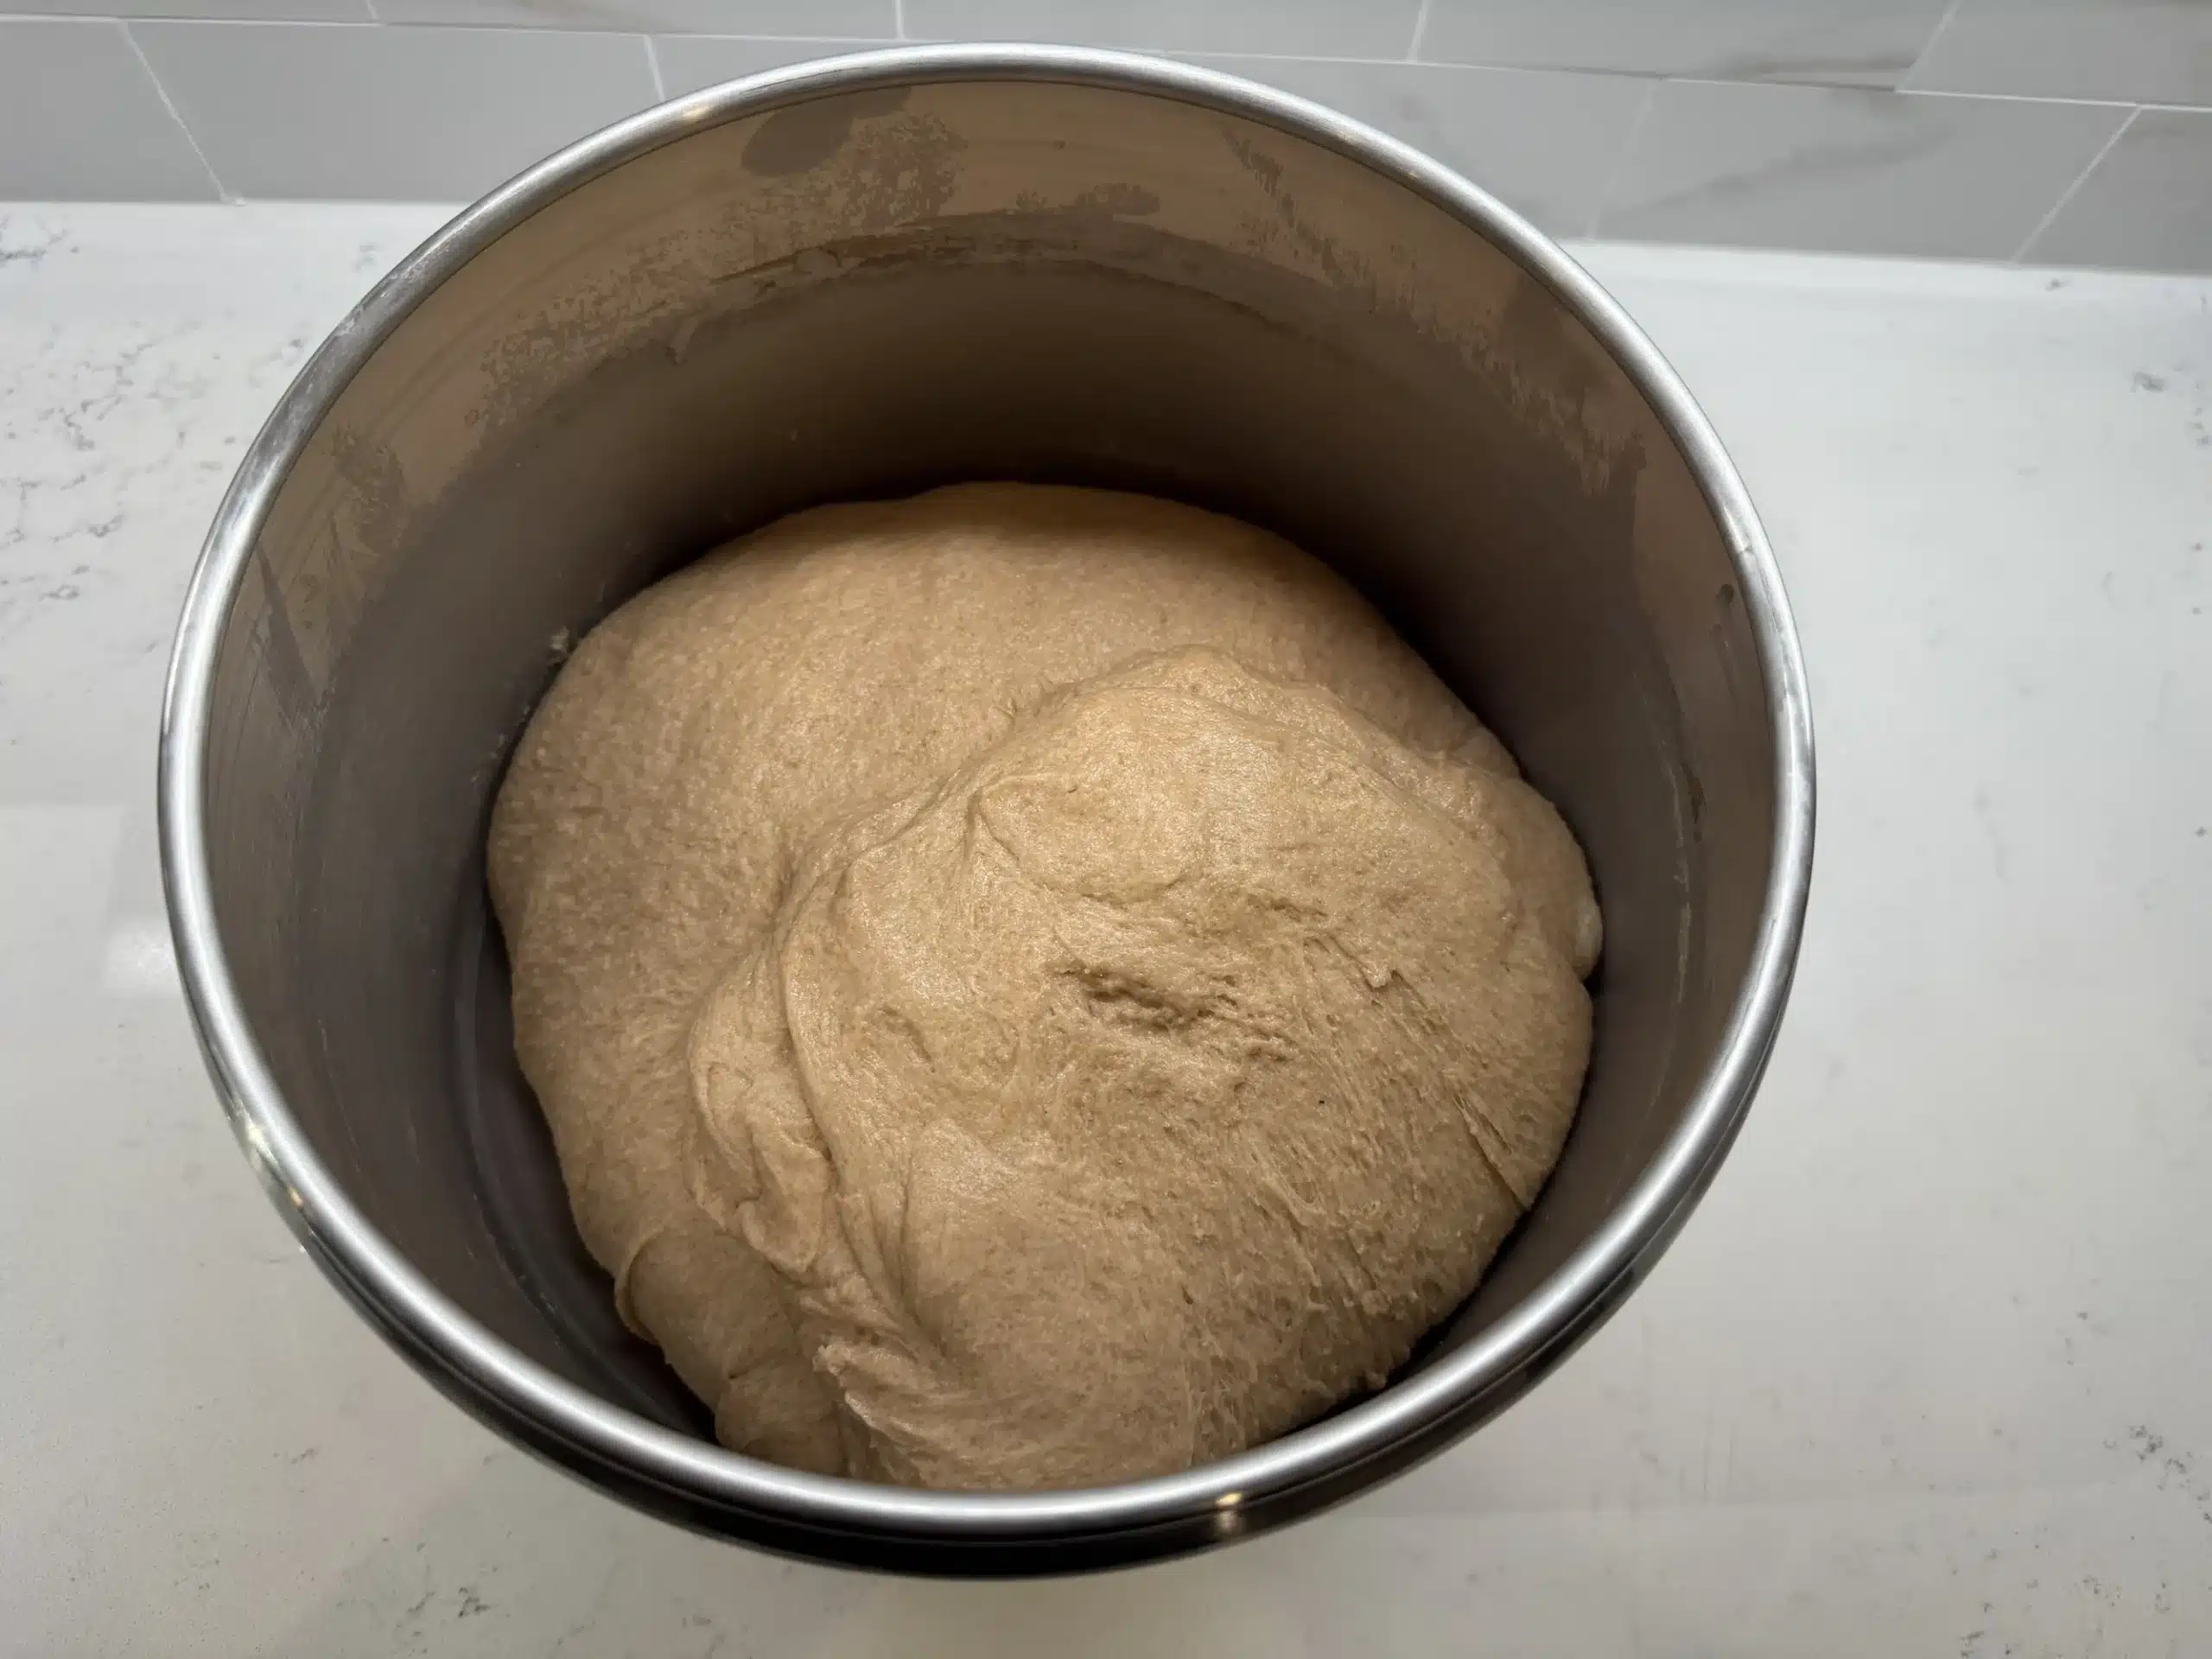
Bulk Fermentation
The bulk fermentation, also known as the first rise, is the period of time it takes your dough to rise after mixing the ingredients together and kneading. During this time, I like to perform several series of stretch and folds.
Stretch and folds are a gentle technique used in bread-making to strengthen the dough and develop gluten without kneading. Instead of aggressively kneading, you stretch one side of the dough up and fold it over. Then you turn the bowl one-quarter turn and repeat this process on all sides (for a total of 4 quarter turns).
This method helps build structure while keeping the dough airy, resulting in a better texture and crumb in your finished loaf.
For this recipe, we do one stretch-and-fold series every hour and 15 minutes during the bulk fermentation period, for a total of 3 stretch-and-fold series over approximately 4 hours.
If you forget to stretch and fold, don’t worry! One thing I love about making homemade sandwich bread is how forgiving the process is. Some of the best loaves I’ve ever made were the result of minimal kneading and zero stretch-and-folds. With fresh milled sourdough, you can leave it alone, and it will often come out just fine.
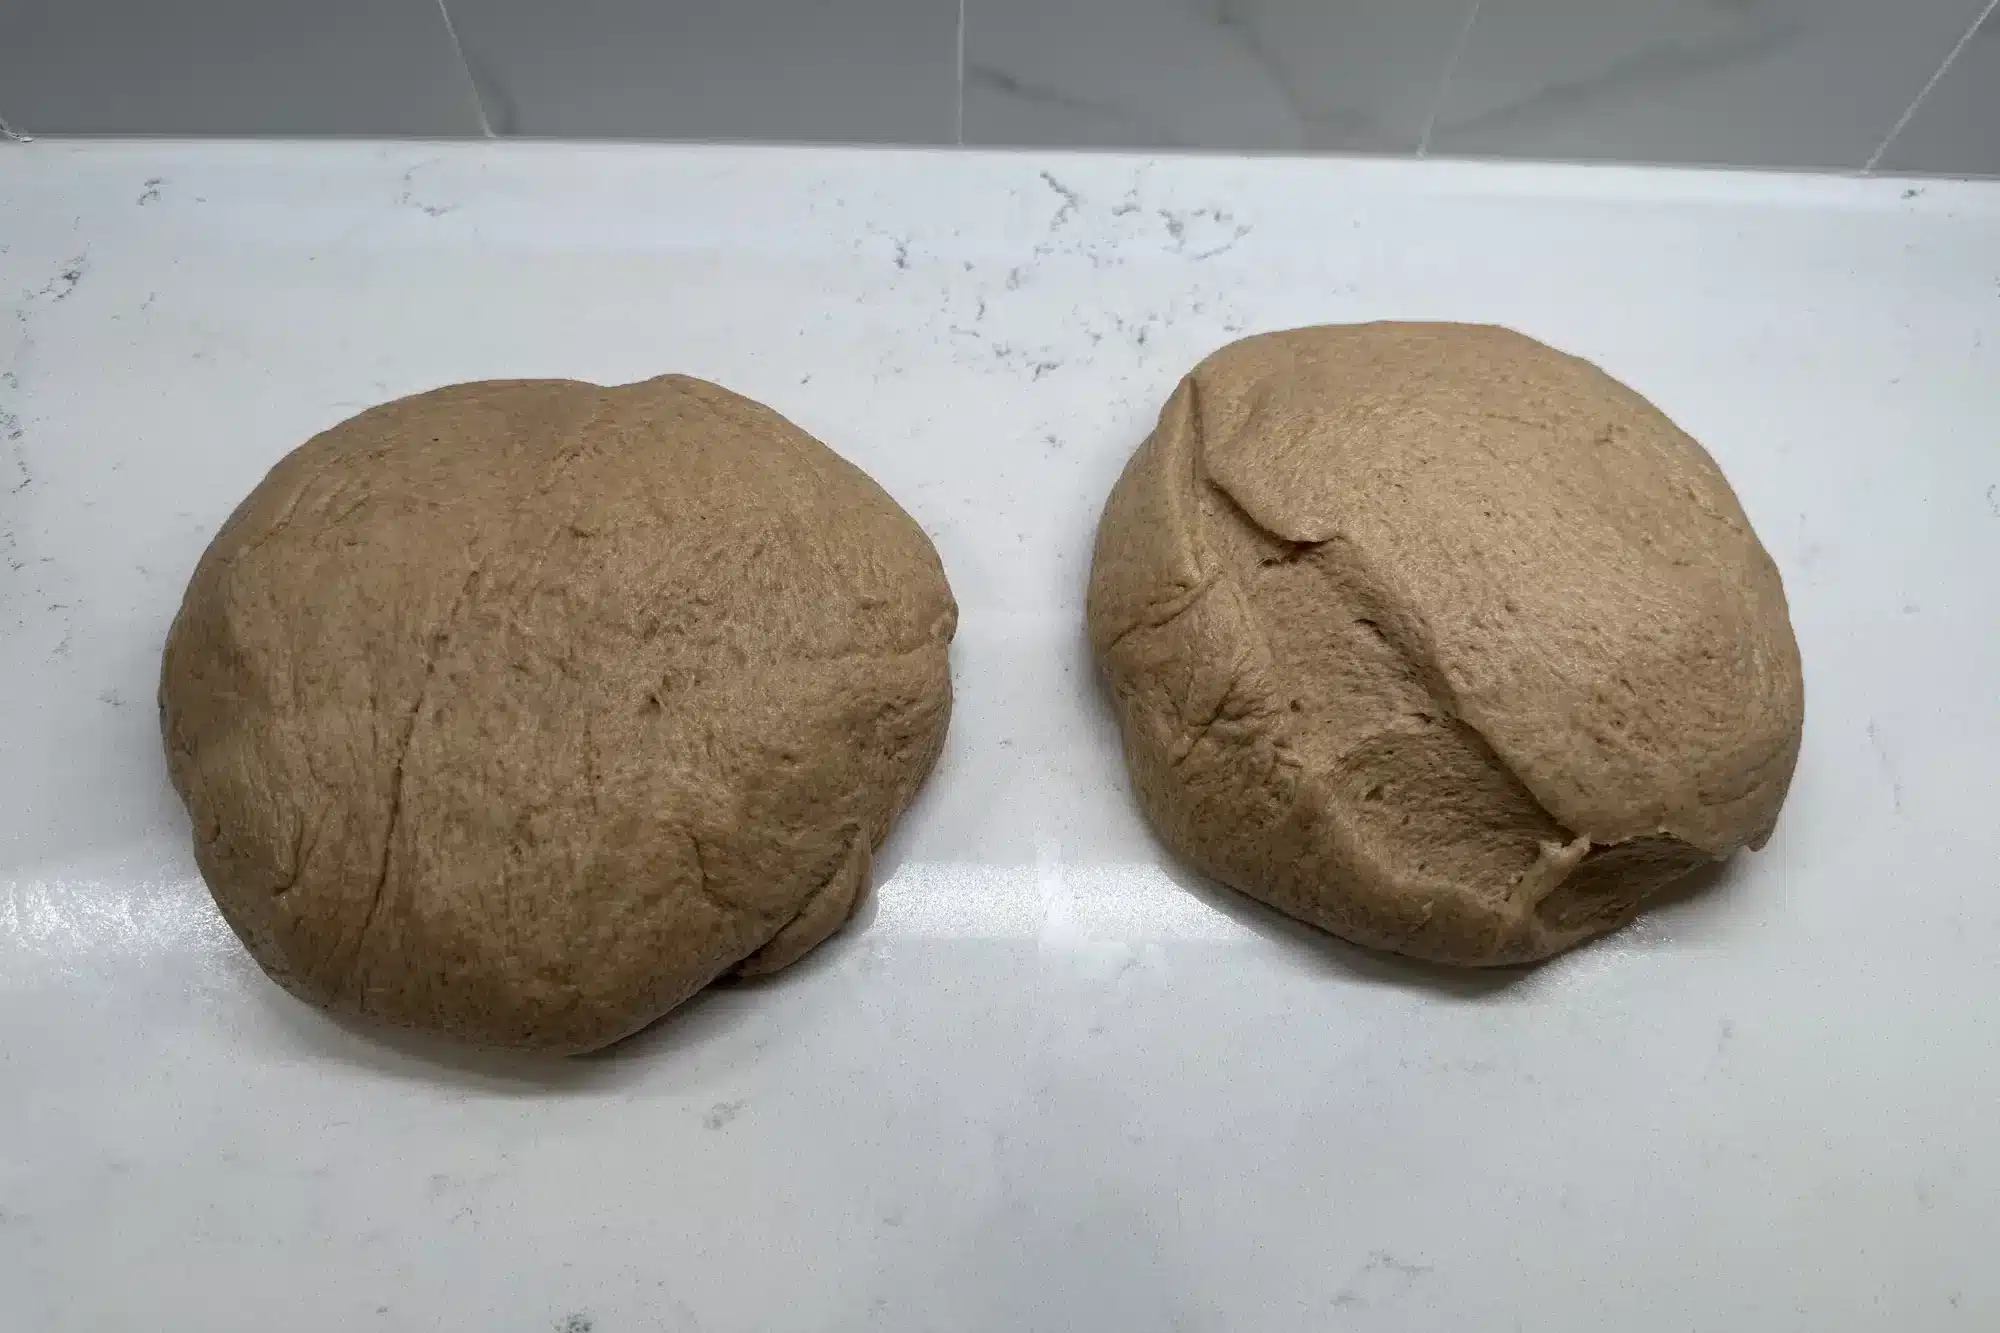
How to Shape Sourdough Sandwich Loaves
To shape the dough, place on a lightly floured work surface and divide into 2 equal parts.
Gently stretch each piece into a rectangle about as long as your loaf pan. Take one side of the rectangle and fold it inward, covering about a third of the dough.
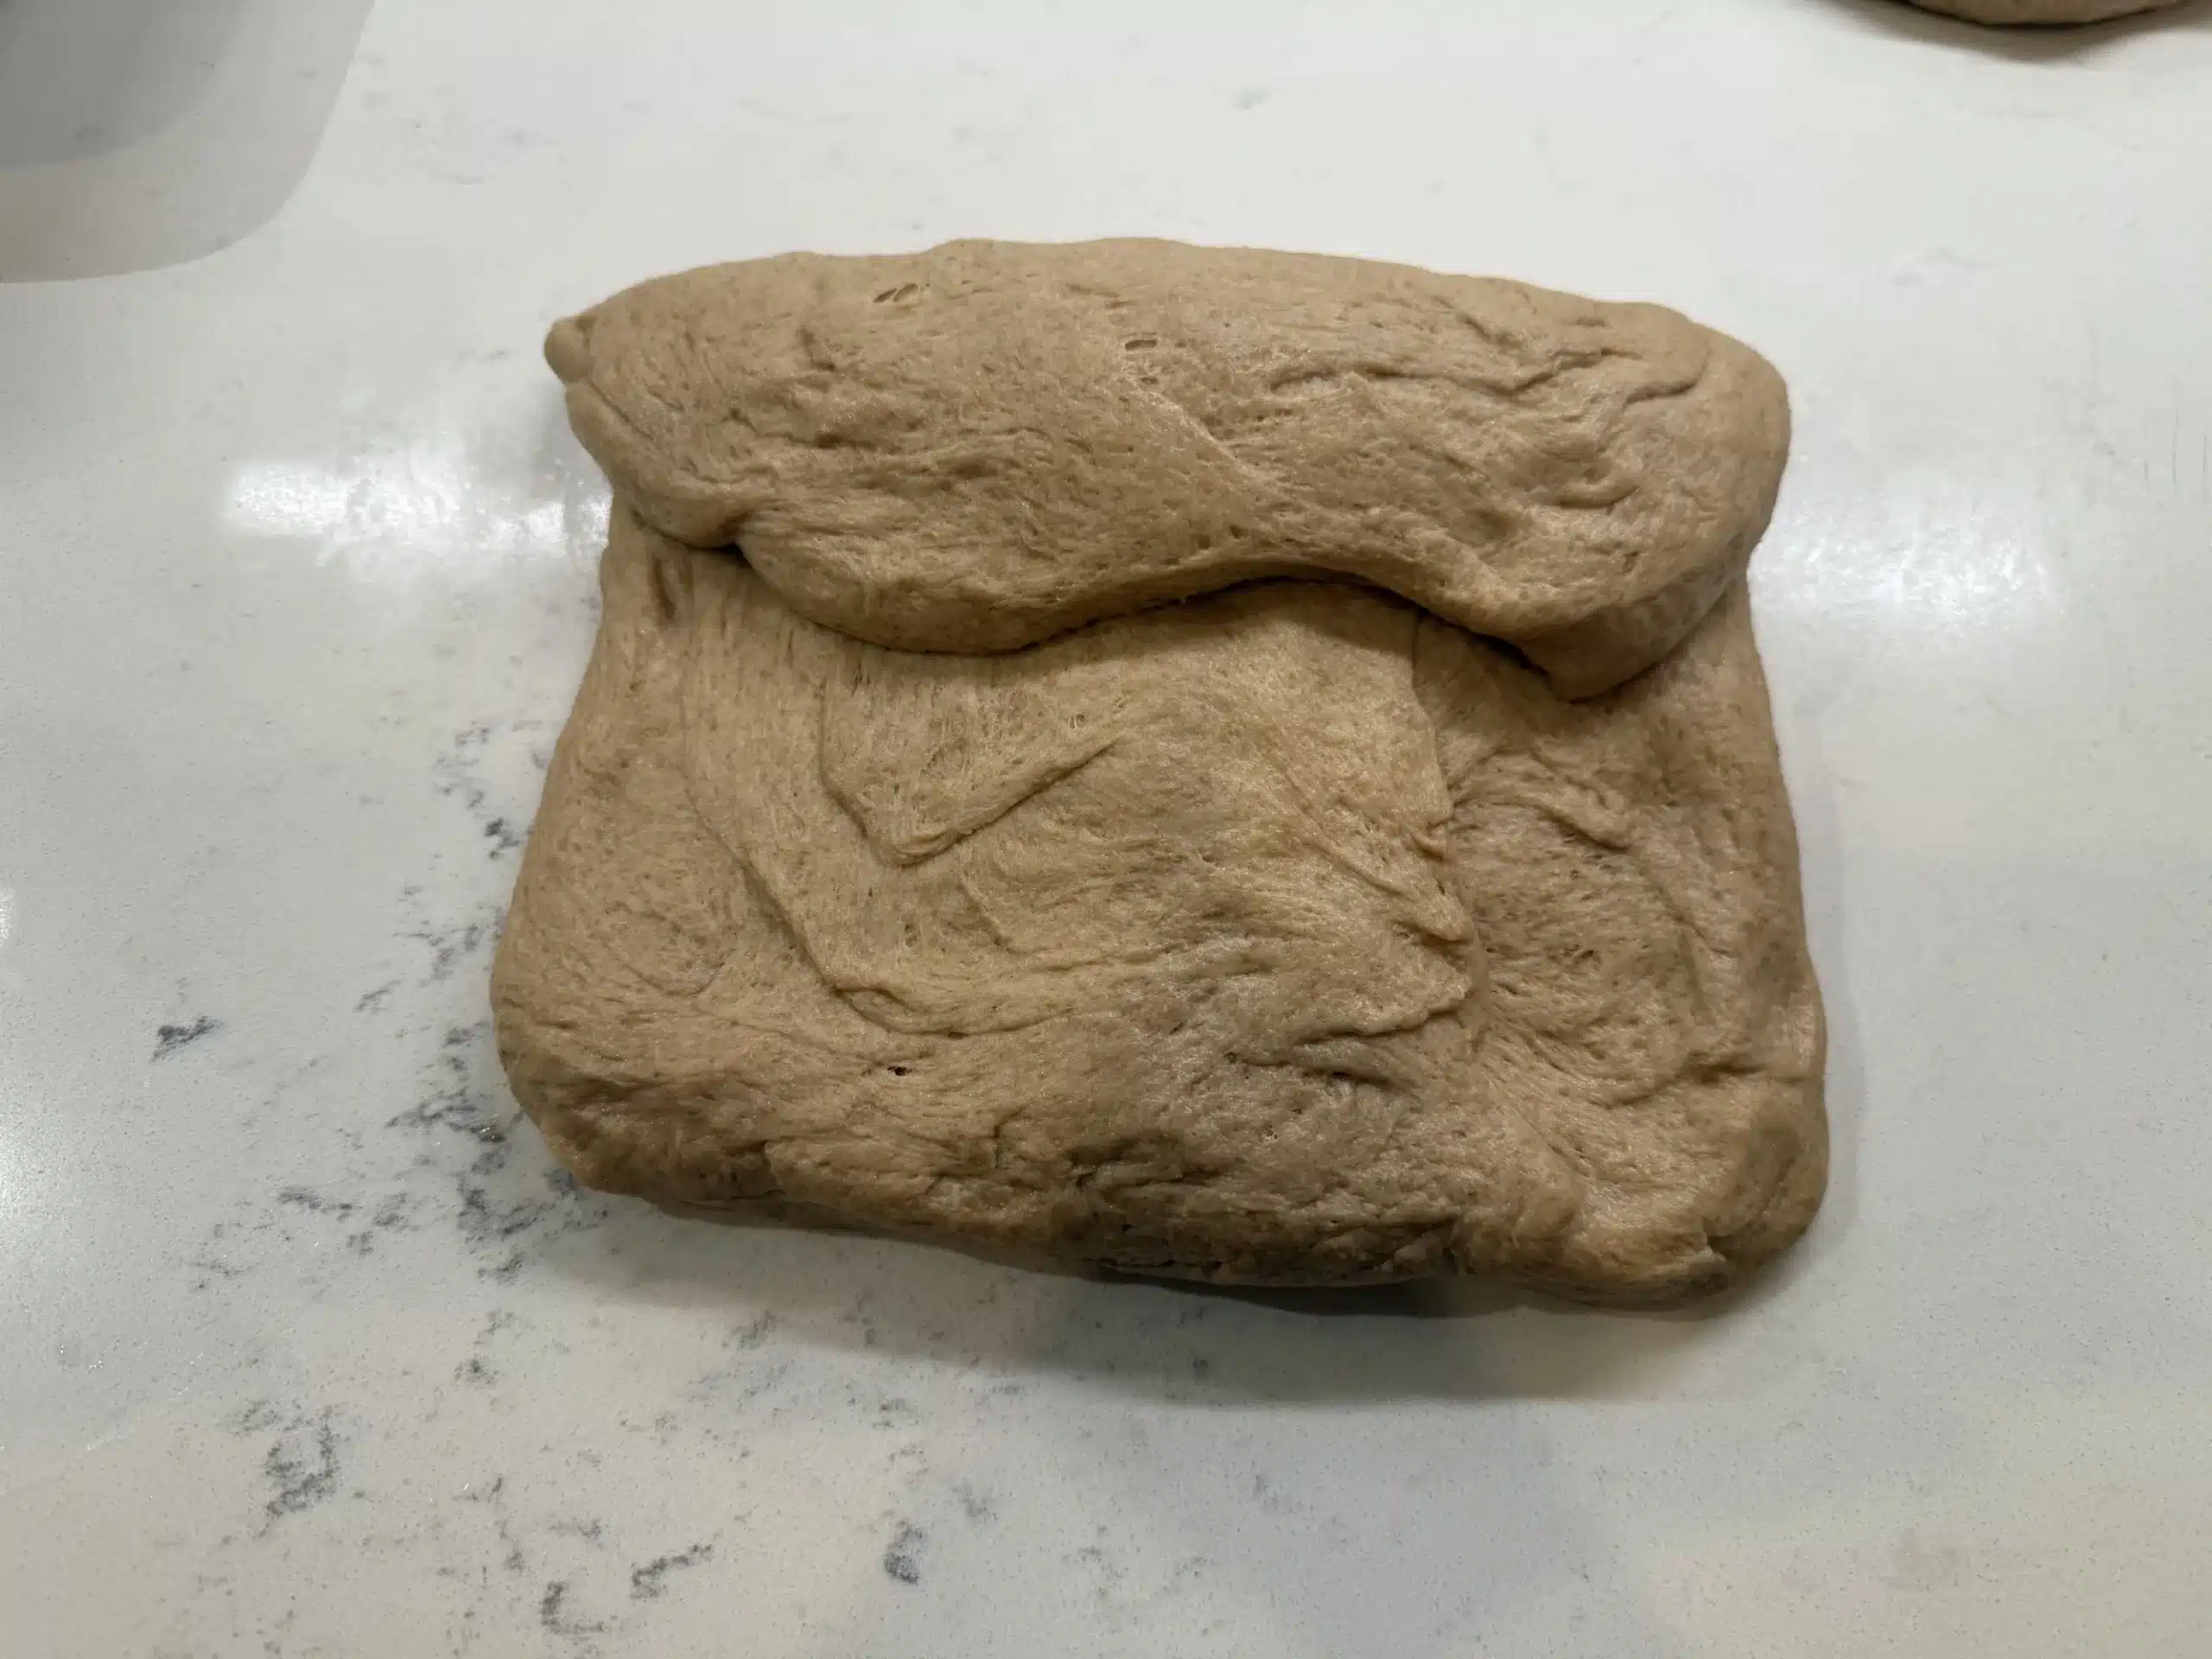
Then, fold the opposite side over the first fold, like folding a letter.

This creates a neat, compact rectangular shape ready for the pan!

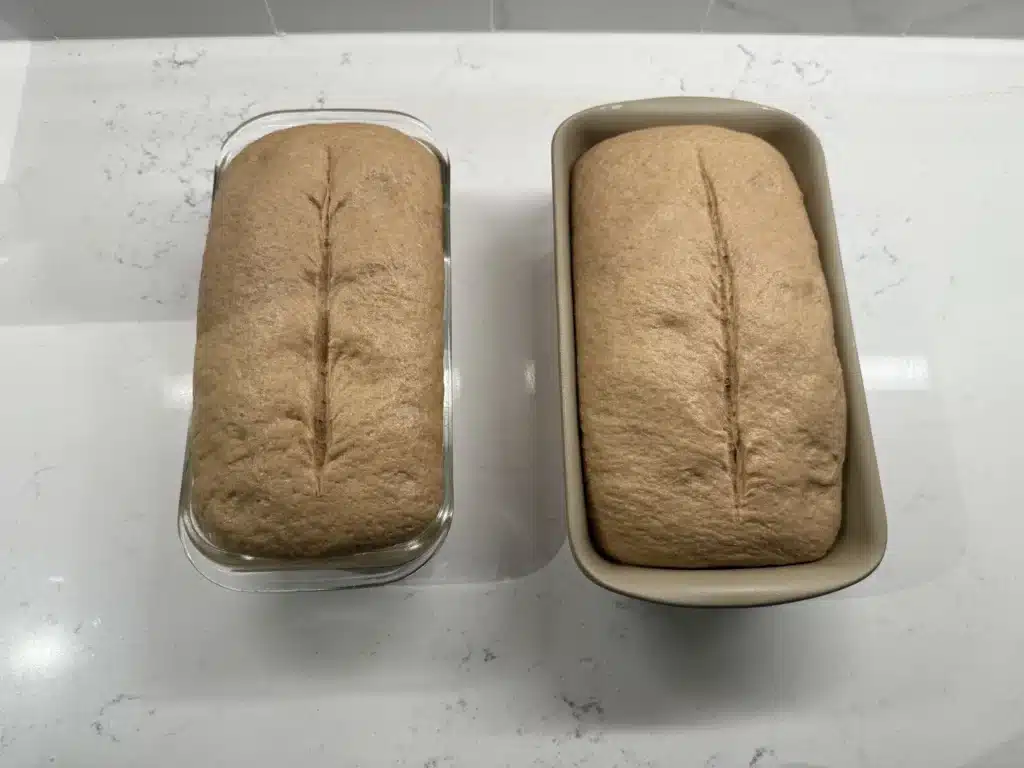
Second Rise (Proofing the Dough)
This is the one part of the process where it’s important to keep an eye on your dough. You can’t neglect it during this time! I can’t tell you how many times I’ve forgotten about my loaves during the proofing stage only to end up with a wet soggy mess of overproofed dough! If your sandwich bread recipe fails, though, don’t worry! You can still use it for french toast, homemade croutons, bread crumbs, etc.
Grease your loaf pans with oil or butter and place each shaped loaf inside, seamed side down. Cover loosely with plastic wrap and let sit 1 to 2 hours, until each loaf is approximately doubled in size or just slightly over the rim of the pan.
To check if the dough is proofed and ready to bake, gently press a floured finger into the dough. If the indentation springs back slowly and doesn’t completely fill in, it’s ready. If it springs back quickly, it’s underproofed and needs more time. If it doesn’t spring back at all, it’s overproofed, and the dough may collapse during baking. Aim for that perfect “slow spring” for the best results!
To Score or Not to Score?
When it comes to fresh-milled flour sourdough sandwich bread, scoring isn’t strictly necessary—but it can be a game-changer. A well-placed score allows the loaf to expand more evenly in the oven, giving you a better rise and that beautifully domed top perfect for slicing into sandwiches. Without scoring, the dough may split unpredictably during baking, which could affect the shape of your loaf.
If you decide to score, use a sharp blade or lame to make a straight slash right down the center of the loaf. This will allow for a controlled expansion across the top, resulting in that smooth, perfectly domed shape that’s ideal for slicing. While it’s optional, scoring can take your sandwich bread from good to bakery-worthy!
How Long to Bake Sourdough Sandwich Bread
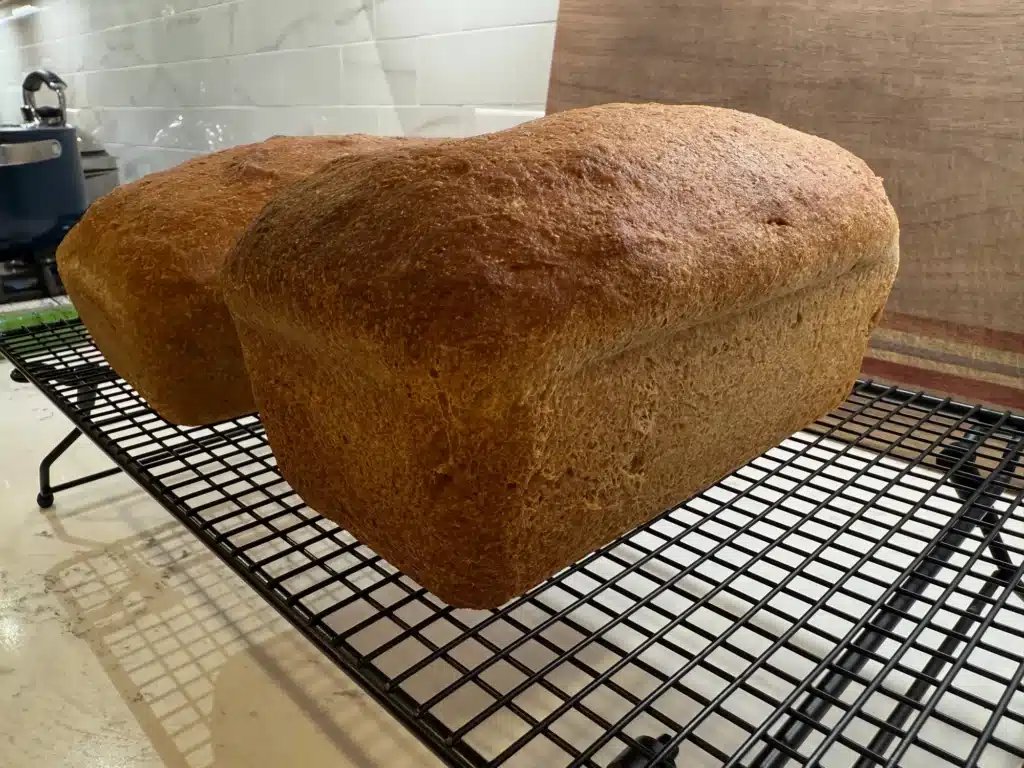
Bake the loaves at 350°F for 45 to 50 minutes, or until the dough reaches an internal temperature of at least 195 degrees. I like for my loaves to be at least 200° in the center to ensure they’re fully cooked. Undercooked dough will have a gummy, unpleasant texture.
If you don’t have a thermometer, you can judge by the look of the finished bread. The crust will be a beautiful dark golden brown color.
However, I highly recommend buying a thermometer if you don’t have one, especially if you plan to make homemade bread a lot. Everyone’s oven is different, and things like elevation and the type of pan you use can affect how long baking takes. Forty-five minutes seems to be the sweet spot for me with this recipe.
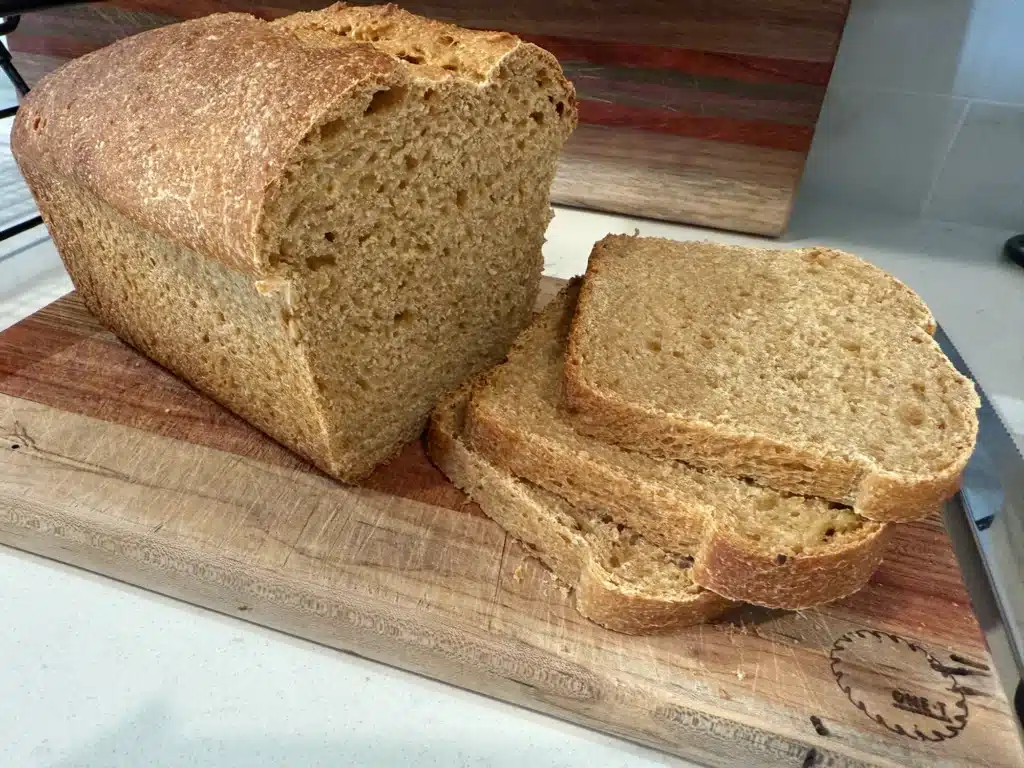
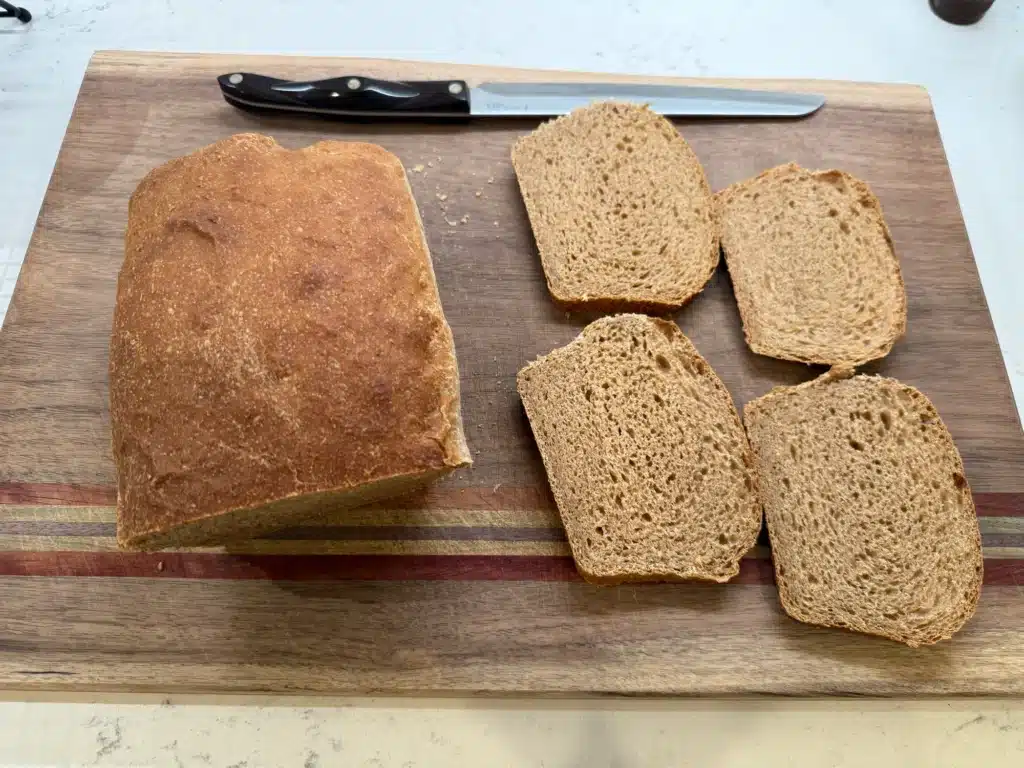
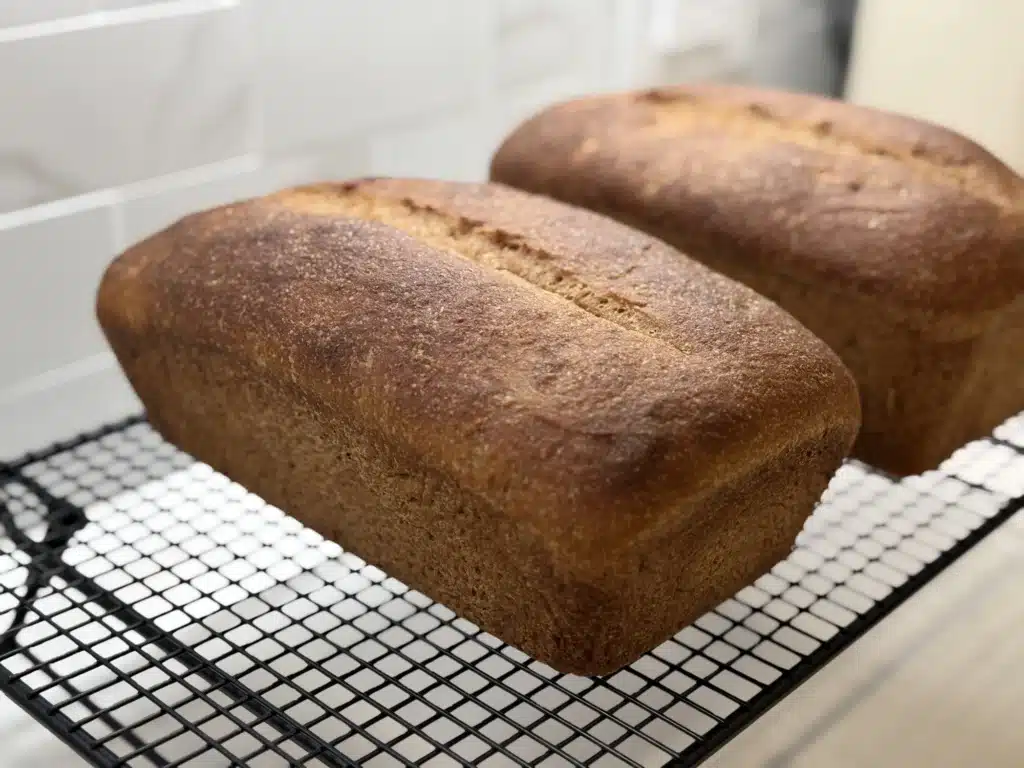
After baking, let the loaves sit in the pans until they are cool enough to handle. Then take them out and place on a wire cooling rack until completely cooled. This will take 2 to 3 hours, but I like to wait overnight to ensure it’s fully cooled before slicing. Slicing too early can result in a gummy texture.
How to Store Homemade Sourdough Sandwich Bread
As a mom of five kids, we go through bread pretty quickly, so long-term storage is often unnecessary. I usually bake 2 loaves a week for sandwiches, but if we make french toast, I may need to bake more often or do larger batches.
You can store each loaf on the counter in a plastic bag or wrapped in foil or beeswax wrap for up to 3 days. After that, it’s best to slice and freeze it.
You can toast individual slices right out of the freezer, or thaw a whole loaf if you plan to use it all right away.
Sourdough Sandwich Loaf Recipe: FAQs
Why didn’t my sourdough sandwich dough rise?
There are a few reasons your bread dough might not have risen properly. If your starter wasn’t active and bubbly, it may not have had enough strength to leaven the dough. Cold temperatures can also slow down fermentation—try keeping your dough in a warmer spot. Lastly, fresh-milled flour ferments faster than store-bought flour, so it’s important not to under- or overproof during each stage.
Why is my bread gummy?
Gummy bread is often a sign that it was underbaked or the dough was too wet. Make sure to bake your loaf until it reaches an internal temperature of 200°F, and check your dough hydration—it should be sticky but manageable. Also, ensure you’ve given the bread enough time to cool completely before slicing, as cutting too soon can make it feel gummy.
Can I use sourdough discard instead of an active starter for this recipe?
Yes! Sourdough discard can be used to make the levain. When you mix the discard with fresh flour and water and let it sit overnight, it will become active, bubbly, and ready to leaven your bread. This is a great way to use up your discard while still getting a perfect loaf.
How do I know when my dough is ready to bake?
The best way to tell if your dough is ready to bake is with the “poke test.” Gently press a floured finger into the dough—if the indentation springs back slowly and partially fills in, it’s proofed and ready. If it springs back too quickly, it needs more time. If it doesn’t spring back at all, it’s overproofed.
Do I need to score my sandwich bread?
Scoring isn’t necessary for sandwich bread, but it can help control the loaf’s rise and create a more even, domed shape. If you decide to score, use a sharp blade to make a straight, shallow slash down the center of the loaf. Avoid deep cuts or off-center slashes, as these can create an unwanted “ear” in sandwich bread.
Can I use different grains for this recipe?
Absolutely! This recipe works great with a mix of hard white and hard red wheat, but you can experiment with other grains like spelt or einkorn. Just keep in mind that different grains may absorb water differently, so you might need to adjust the amount of flour or water for the right consistency.
How long should I let my bread cool before slicing?
Patience is key here! Let your bread cool completely—this usually takes about 2 to 3 hours. Cutting too soon traps steam inside, which can lead to a gummy texture. Fully cooled bread will slice cleanly and hold its shape.
What if my dough feels too sticky to handle?
Fresh-milled flour often creates a wetter dough, which is normal and contributes to the bread’s soft texture. If it feels too sticky, try lightly oiling your hands instead of adding more flour, which could make the bread dense. With practice, you’ll get a feel for the right balance.

Fresh Milled Flour Sourdough Sandwich Bread
Equipment
- 1 Stand mixer (optional – could also use a large mixing bowl and Danish dough whisk to mix by hand)
- 2 Loaf pans
- 1 Bread lame (optional – for scoring)
- 1 Bread knife (for slicing)
Ingredients
Levain
- 1 cup sourdough starter or discard
- 1 cup water (make sure it's filtered!)
- 2 cups fresh milled flour (hard white wheat or a mix of hard white and hard red wheat are best)
Bread Dough
- 1 1/2 cups milk
- 1/4 cup melted butter (can substitute coconut oil, avocado oil or olive oil as well)
- 1/4 cup honey
- 1/4 cup brown sugar (can sub 3 TBSP honey instead)
- 1 tbsp sunflower lecithin optional – for added softness and elasticity
- 5 to 6 cups fresh milled flour (hard white wheat or a mix of hard white and hard red wheat are best)
- 1 tbsp salt
Instructions
- The night before, mix ingredients for the levain together until smooth and let sit, covered at room temperature overnight.
- Add the levain and all bread dough ingredients (EXCEPT the salt) to the bowl of a stand mixer. Be sure to add the flour 1/2 cup at a time until the dough pulls away from the sides of the bowl. Mix for a few minutes, adding the flour 1/2 cup at a time until the dough pulls away from the sides of the bowl. (You should end up adding between 5 and 6 cups of flour, but this could vary depending on the type of grain used and your environment.)
- Allow the dough to sit and rest for 30 minutes.
- Add the salt and knead on low speed for 5 minutes or until the dough is smooth and elastic.
- Turn off the mixer and loosely cover with plastic wrap or a lid.
- Let the dough site for 75 minutes, then perform the first stretch-and-fold series: Gently stretch one side of the dough up and fold it over. Turn the bowl one-quarter turn and repeat this process on all sides (for a total of 4 quarter-turns.)
- Let the dough sit for another 75 minutes, then perform another stretch-and-fold series.
- Let the dough site for another 75 minutes, for a total bulk fermentation of 3 hours and 45 minutes.
- Turn the dough out onto a lightly floured surface and divide it into 2 equal parts.
- Shape each part into a rectangular loaf and place in lightly oiled loaf pans. Cover loosely with plastic wrap and allow each loaf to proof for 1 to 2 hours or until doubled in size. It should rise slightly above the rim of each pan and pass the "poke test" when perfectly proofed.
- Preheat oven to 350°F. If desired, score each loaf by slashing down the center with a lame, razor blade, or sharp knife.
- Bake for 45 to 50 minutes or until the internal temperature reaches 200°F and the crust is a dark golden brown color.
Notes
- Freshly ground flour ferments faster than store-bought, so watch your proofing times closely to avoid overproofing.
- Your dough should be soft, elastic, and slightly sticky. Add flour gradually, as hydration needs may vary based on your flour and environment.
- Bake until the loaf reaches an internal temperature of 200°F to ensure it’s fully cooked and avoid a gummy texture.


2 comments
Heidi
This is such a thorough article on sourdough bread using fresh milled flour. A great resource to keep for reference and your recipe sounds delicious!
Priscilla
I needed this right now! I just started my freshly milled flour journey and looking for all the recipes and tips! My freshly milled sourdough starter is also ready. Are there any things to know about using a freshly milled starter versus an all purpose flour starter?